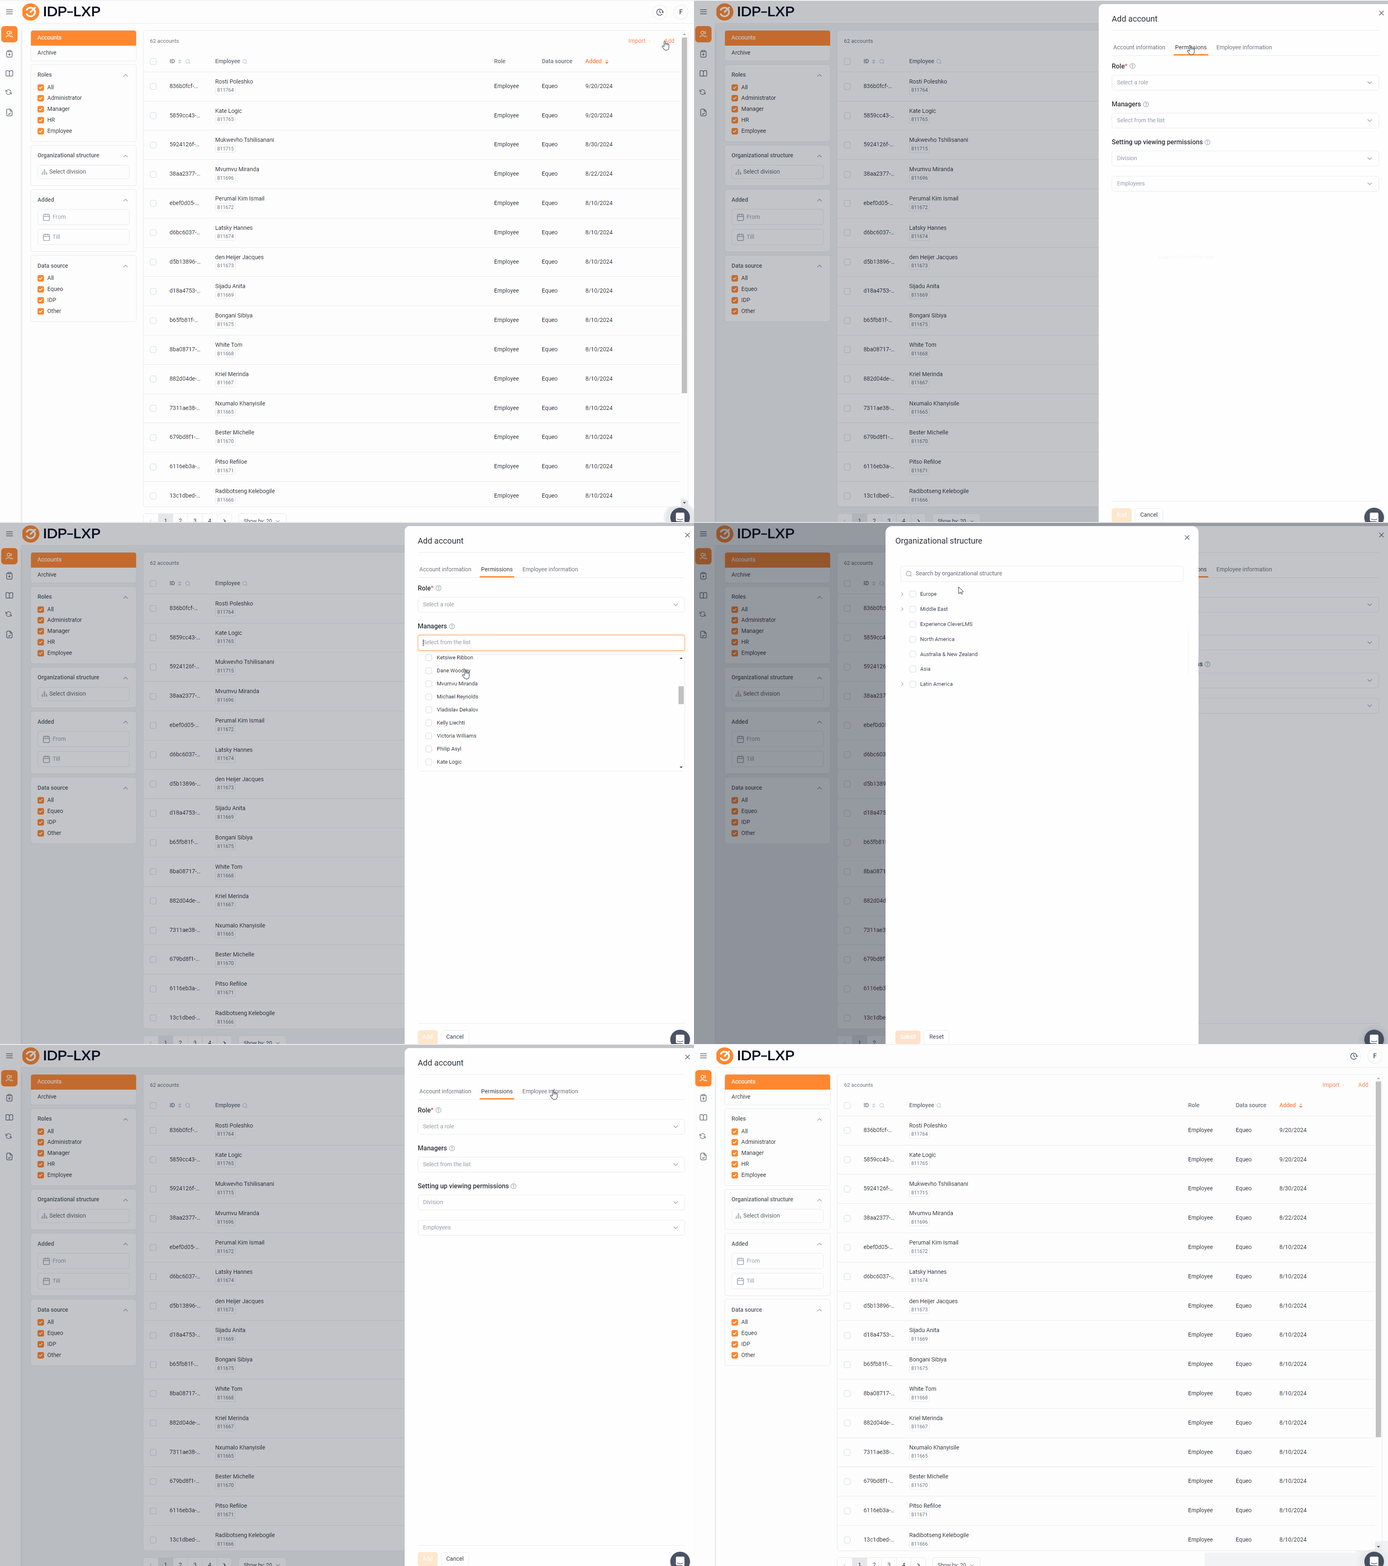
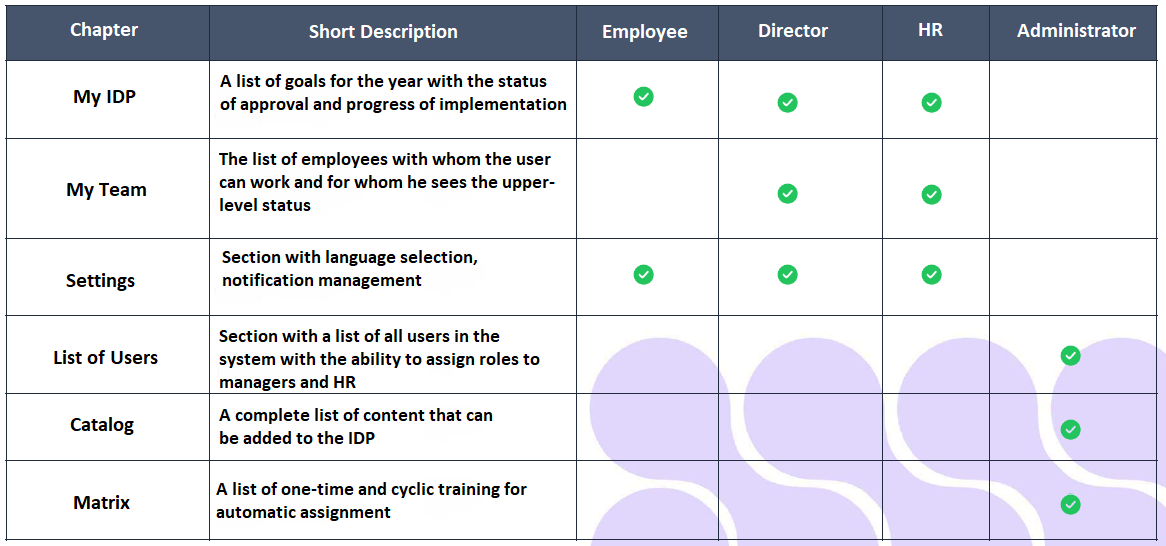
Contains basic information about users in the system. Accounts are user accounts. It is possible to add/edit/archive/filter accounts.
1) Through the button for adding and filling out the form.


The drop–down list "Managers" - direct, functional, project managers, mentors of the user. There may be several of them. They will see subordinates in the "Employees" tab. After adding managers, the selection can be adjusted.
The "Employee Visibility Settings" block provides access to other employees' plans. The manager can track not only the plans of his team, but also the plans of the users allocated to him. Employee scopes can be set by organizational structure user groups: The "Division" drop-down list. It is also possible to highlight the list of visible users individually: the "Employees" drop-down list.
The Employee Data tab These are the data that are pulled during registration by integration from CleverLMS, but they will need to be filled in during manual registration. First name, Last name, Patronymic (Middle name), Email, Phone number, groups in which the employee will be located.
2) Through integration with an external system. Data transmission is configured at the stage of implementation of the functionality. If data is transmitted by integration, then their addition, editing, and deletion takes place in the source system (from where the data is drawn), and in the IPR, the data is automatically updated via the API..
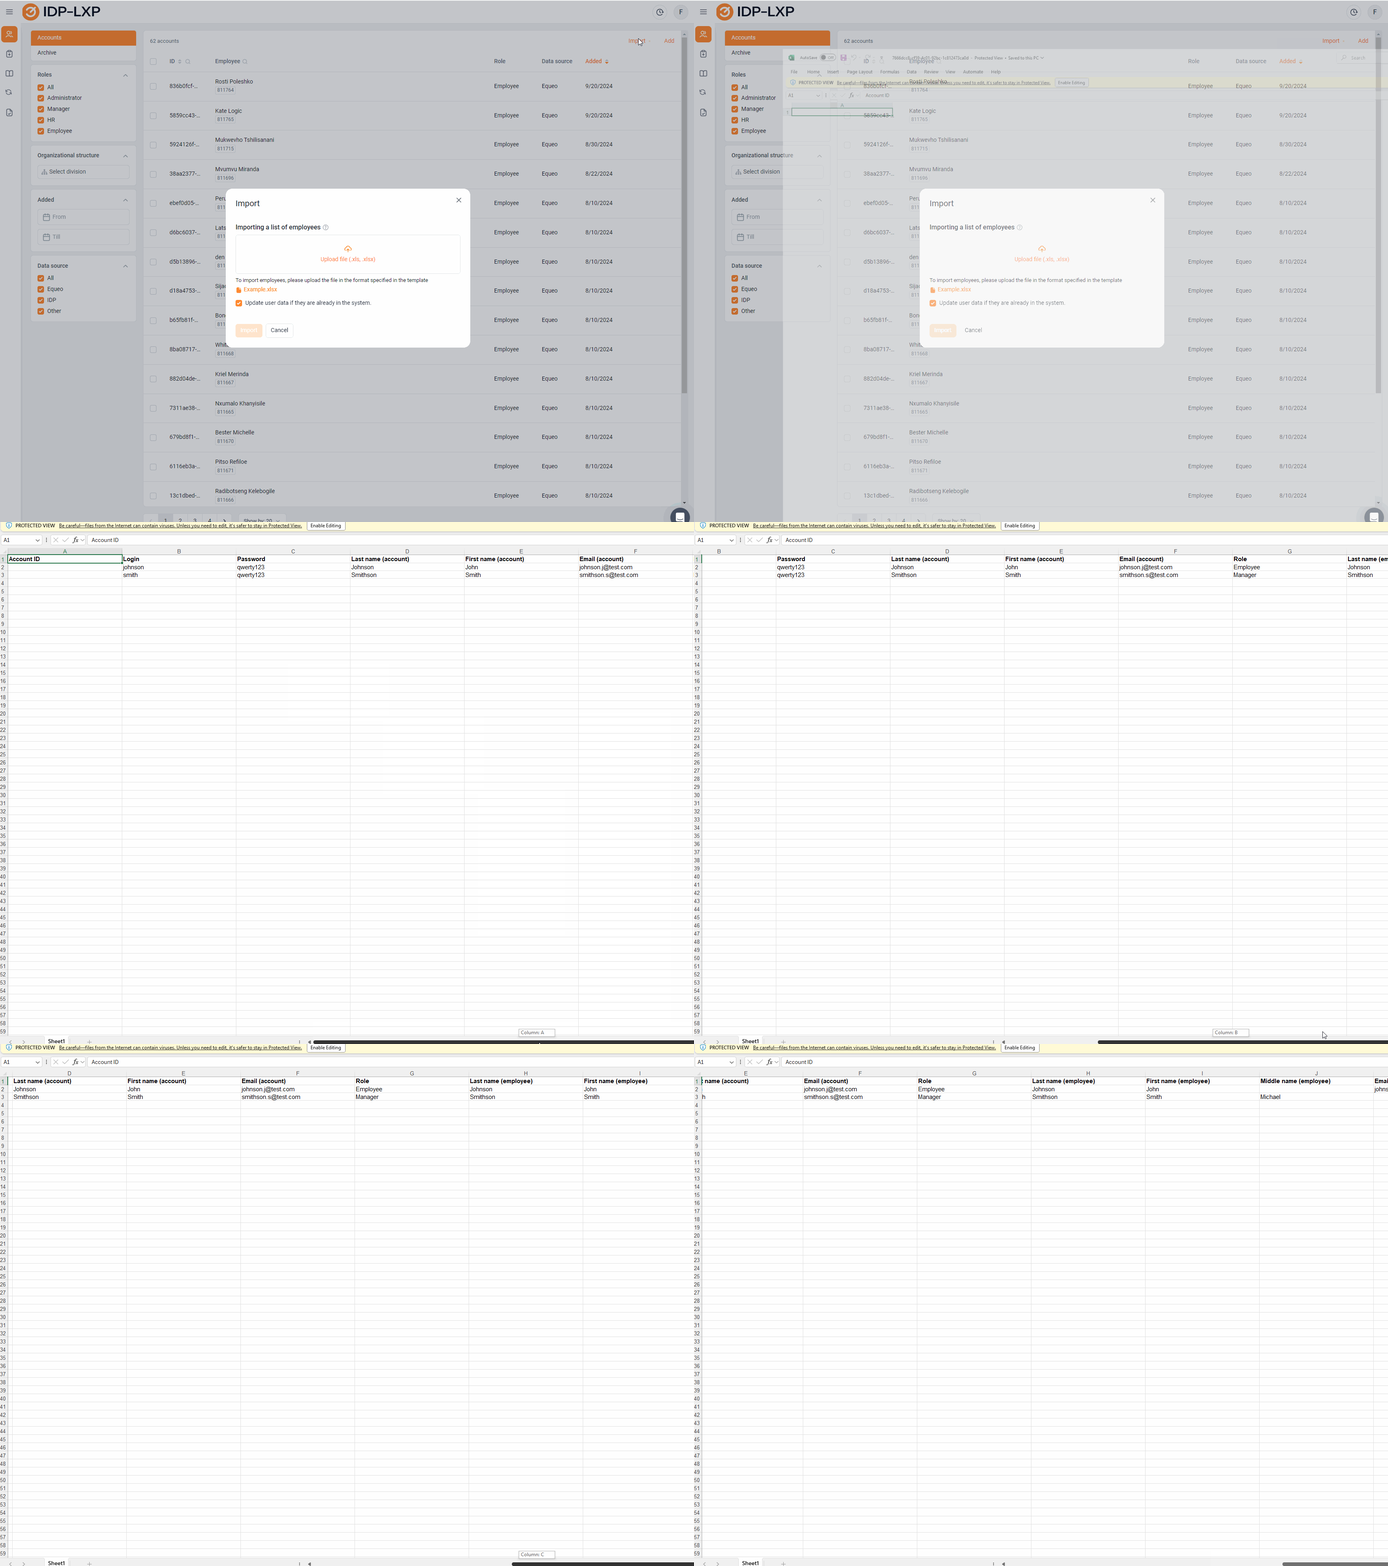
3) Through the import option. It is suggested to download the import template, fill it in and import the data. After importing, the accounts will appear in the list of accounts.

The file can not only register, but also edit existing employee accounts.

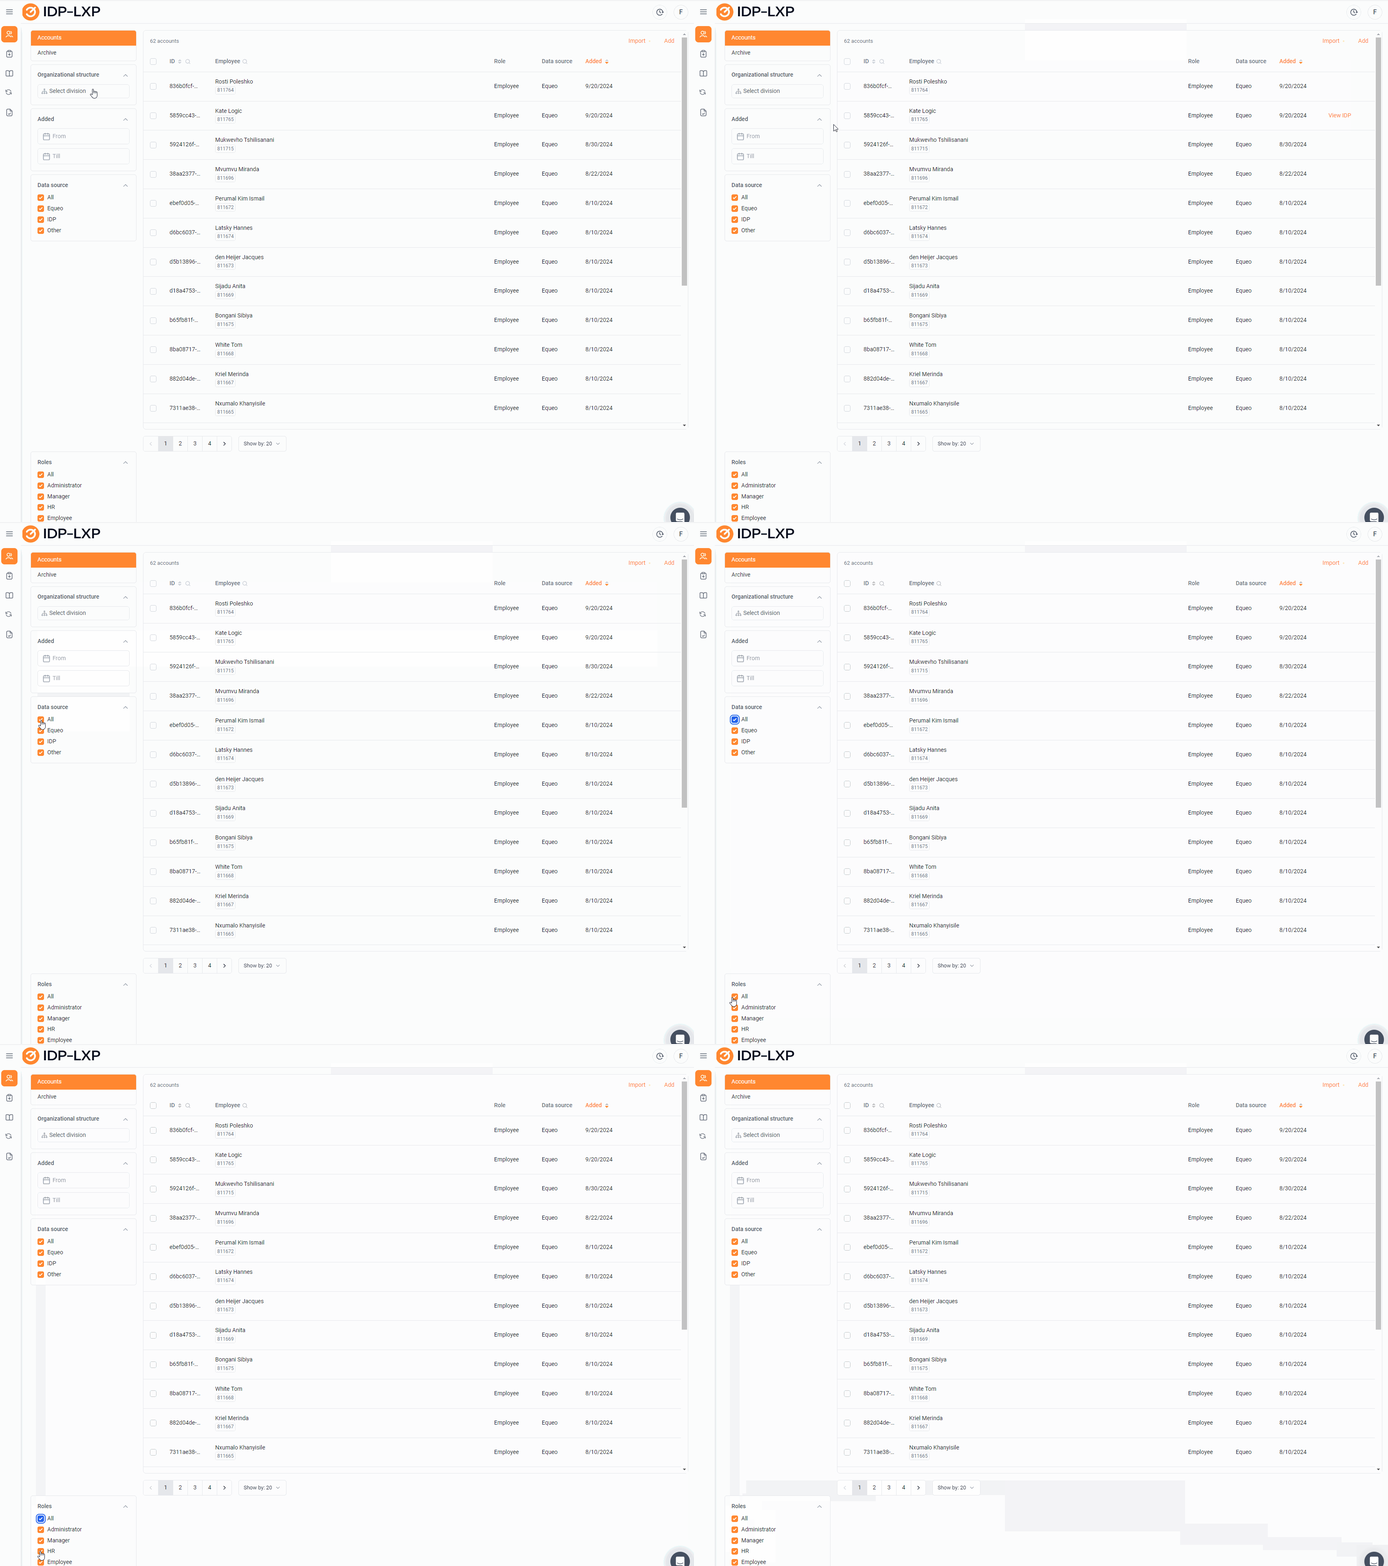
There is filtering by: 1) Roles 2) Groups - the organizational structure - stretches from the system with which user integration is configured (you can configure visible groups of the organizational structure). 3) The date when the employee was added "Added" is the date when the user was transferred to the IDP, and not the date when the employee was actually created in the source system. 4) Data source - where the employee was drawn from: CleverLMS - they are drawn by integration from CleverLMS IDP - were created directly in IDP Other - integration is configured with another system, for example from 1c and so on.
Mass actions
The administrator can perform mass actions with selected accounts. To search for accounts in the table, it is possible to use a filter in the additional navigation area, or a column search. After selecting the items by checking the appropriate row, the number of selected items will be displayed above the table.
After selecting the lines, the "Actions" menu appears above the list, where the following buttons are available: Archive – archiving of accounts. You can restore it later, if necessary.
Displays a list of archived users that can be restored if necessary.
