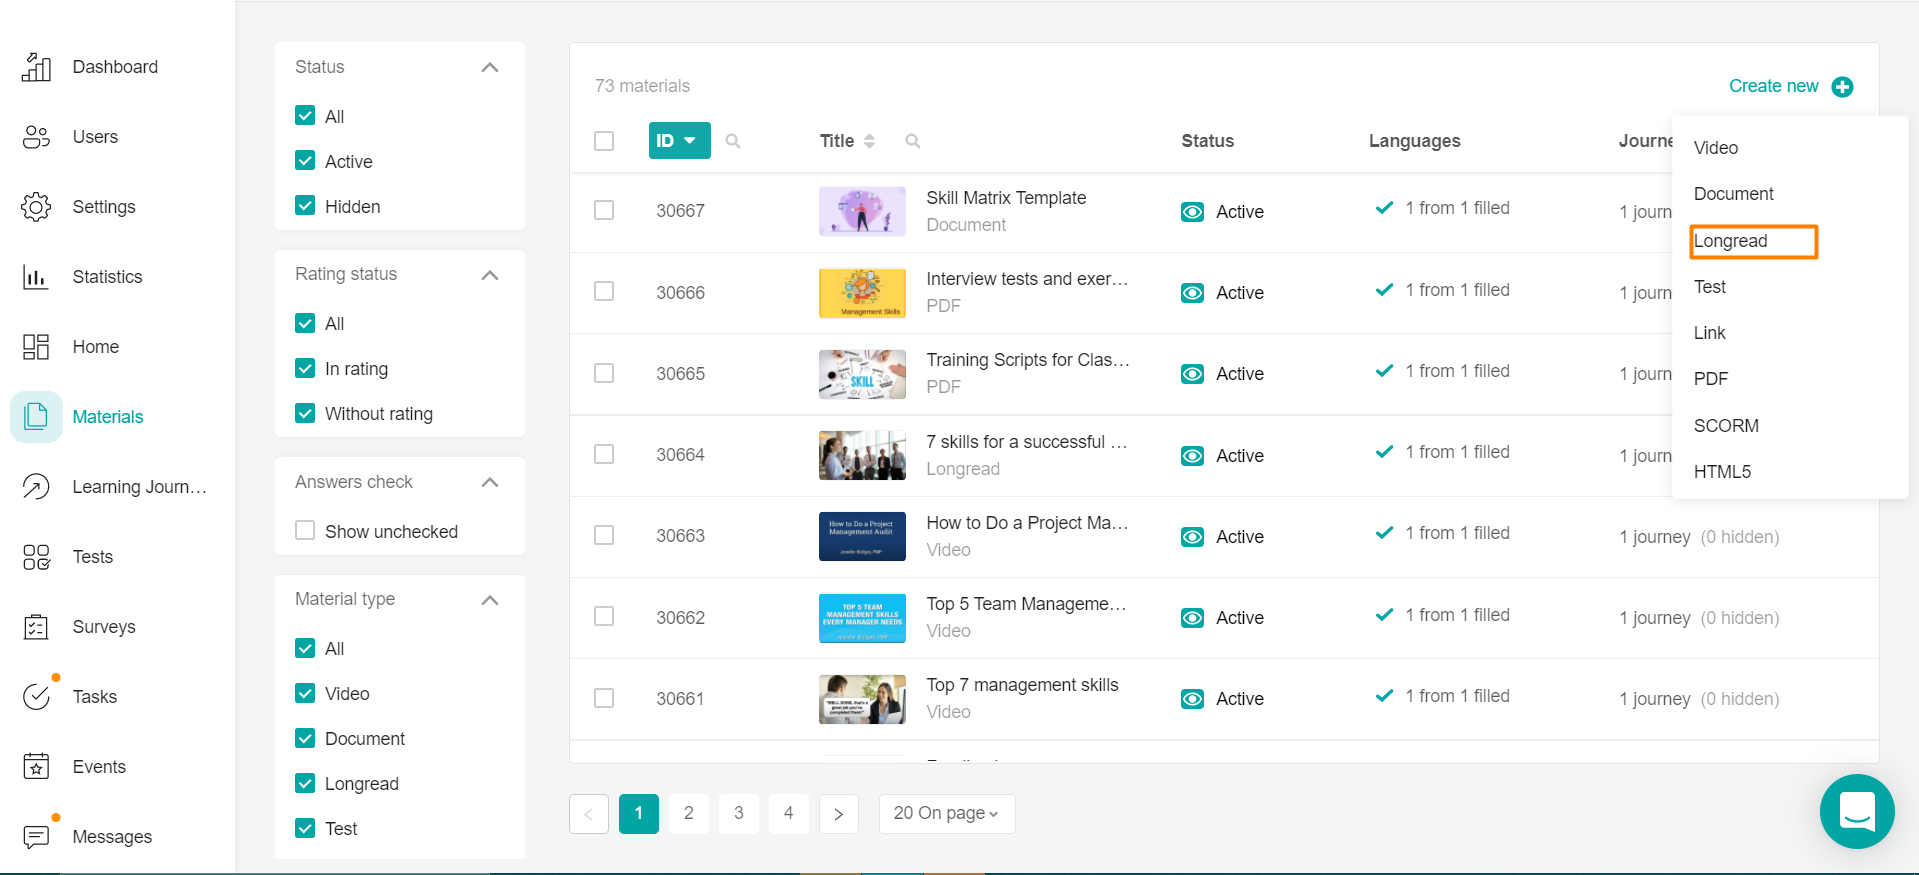
In the Materials section, click the Create New + button and select the Longread in the drop-down menu.
Longread is an article in which there is a convenient editor with the ability to insert links, videos, various text editing tools. The article can contain either 1 page or several.
Fill in the material settings.
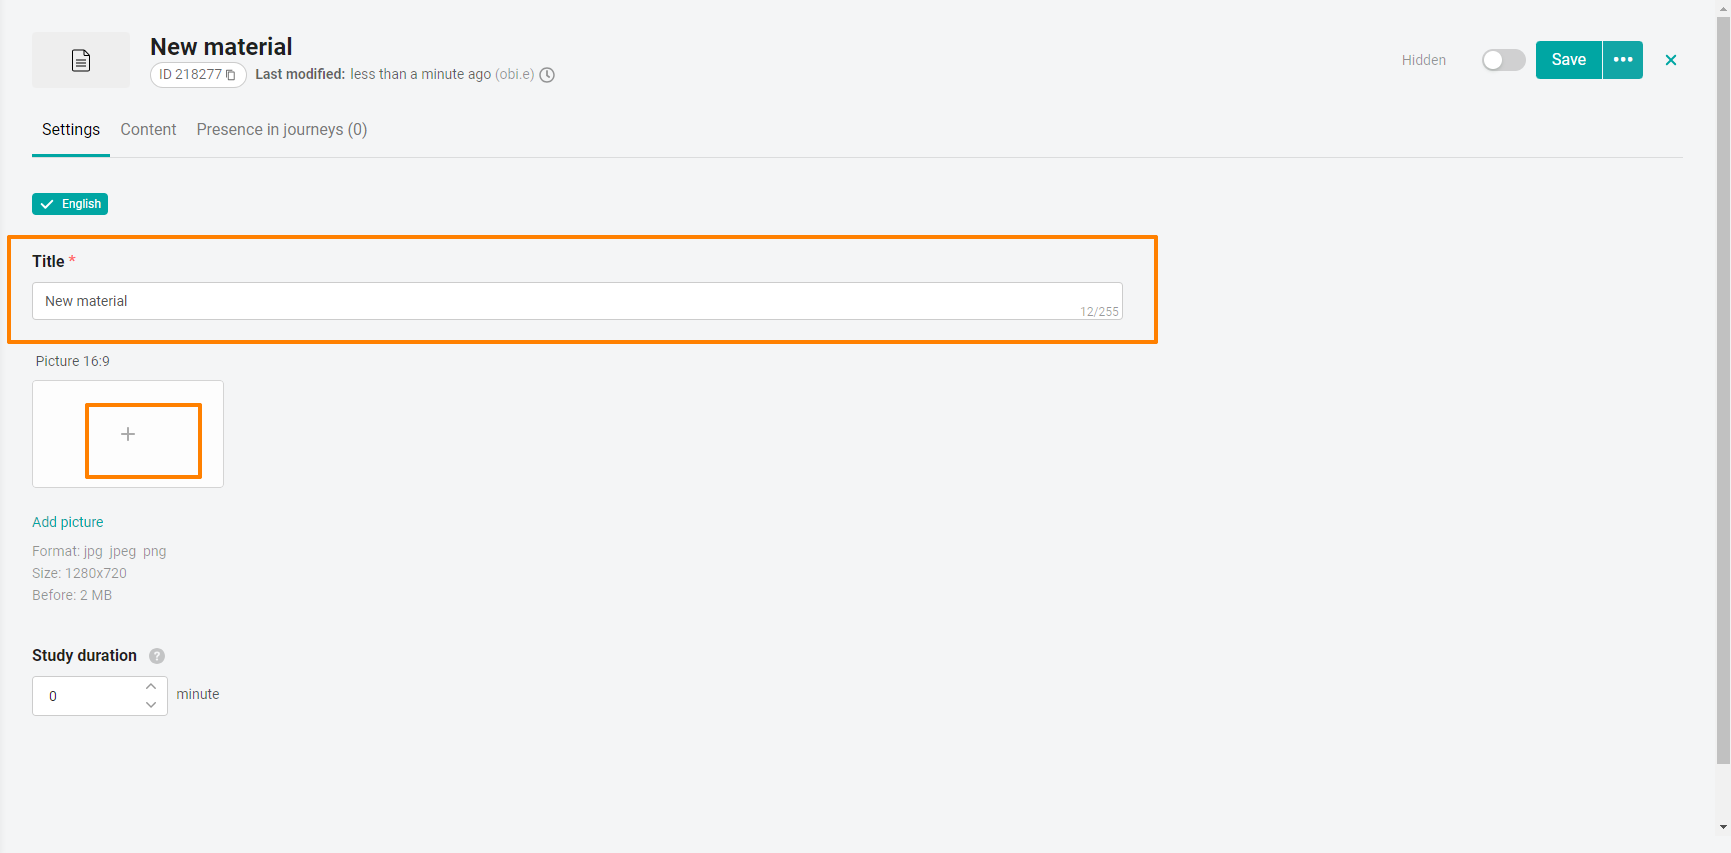
The Name field is mandatory.
Add a cover for the longread Picture 1280x720 by clicking on the + in the "Picture" field.
Suggested Study Time - Here you can schedule time to complete the material. The specified duration does not limit the user in the time of studying the material, but only gives a recommendation.
Auto-assignment of points
A fixed number of points is given to the user if the material goes into the "passed" status. The administrator sets up the number on his own - how many points each user will receive when the material is completed by him.By clicking on "View transactions", the administrator will be able to see the details of the assignment of points for this material.
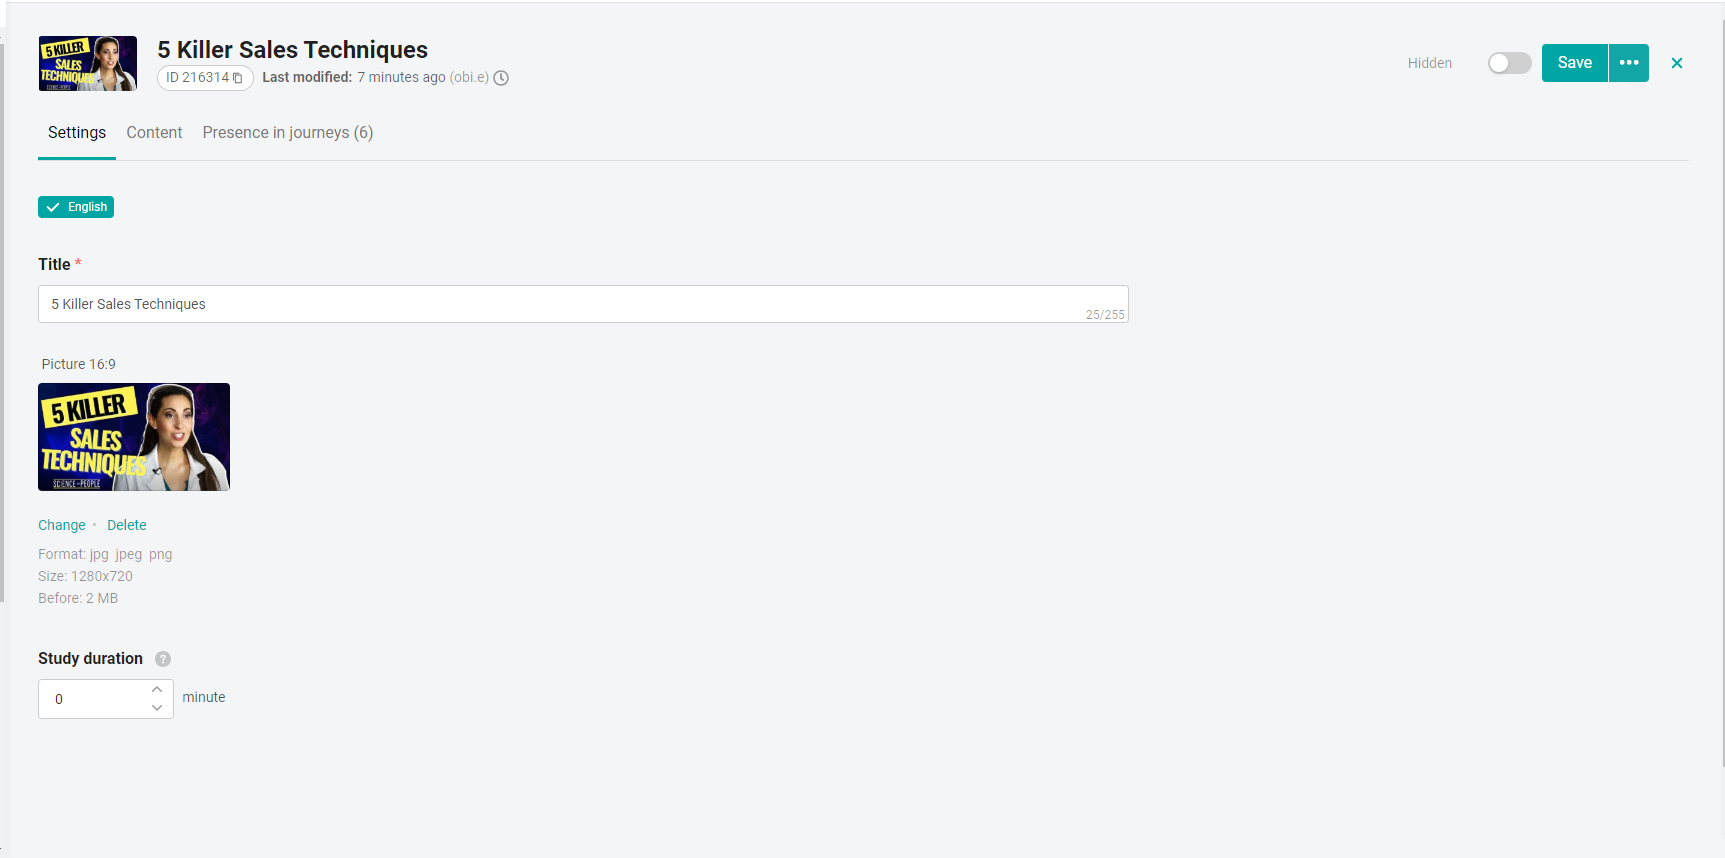
When ready, proceed to the content.
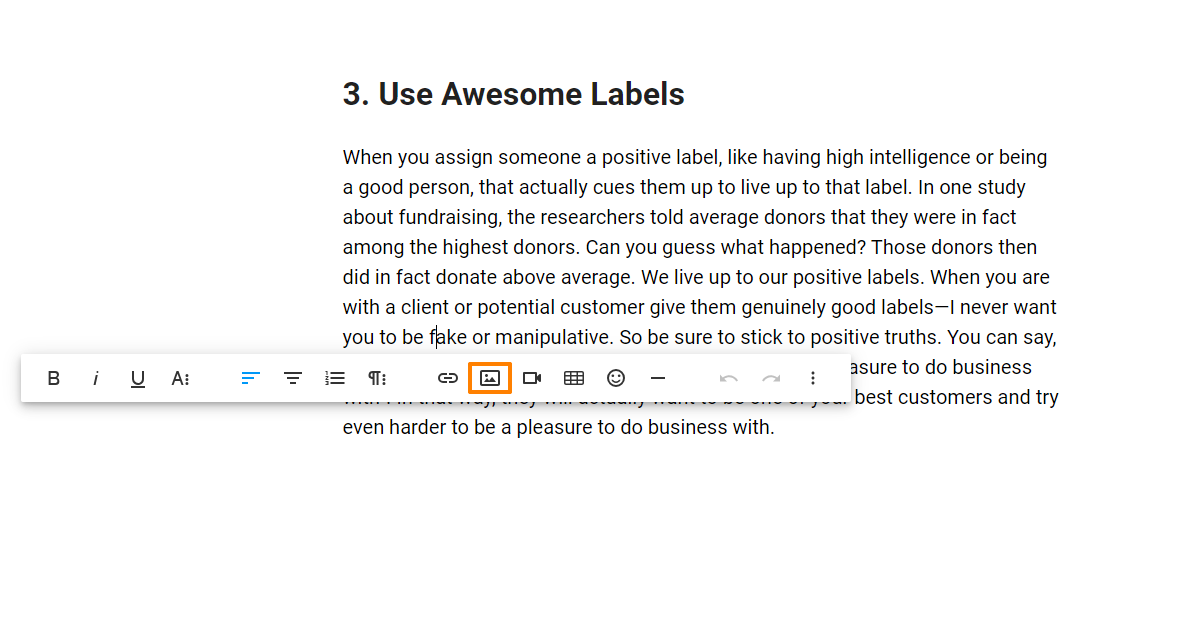
The article has a built-in editor with an extended set of tools that allows you to add:
Text. You can change fonts, sizes, color the text, set alignment, position the text around the picture.
Links (external and internal) by analogy with other sections.
Pictures.
Links to the video. The video will be played in the article. It is important that the site where the video was located could play it in a frame, and the site is allowed. For example, the service allowed by default is www.youtube.com .
Tables.
Emoticons.
Footnotes lines.
After adding all the elements, you can edit them. To do this, click on the item (select it) and a panel for editing will appear.
Once added, all elements can be edited. To do this, click on the element (select it) and a panel for editing will appear.
Let's see how to add elements.
1.Text.
You can write the text yourself or copy it from another editor while maintaining the format.
Next, select a part of the text for editing.
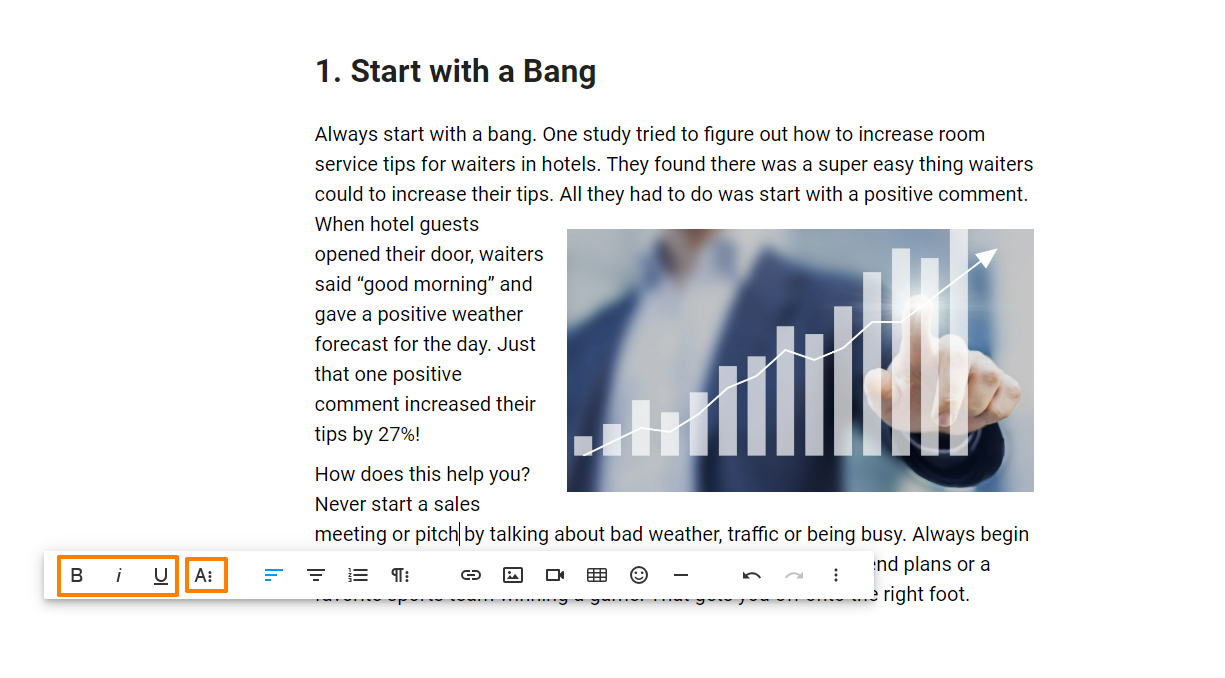
In it, you can change fonts, sizes, color it, color the background, set alignment, place it around the picture, set numbered, bulleted lists, quotes.

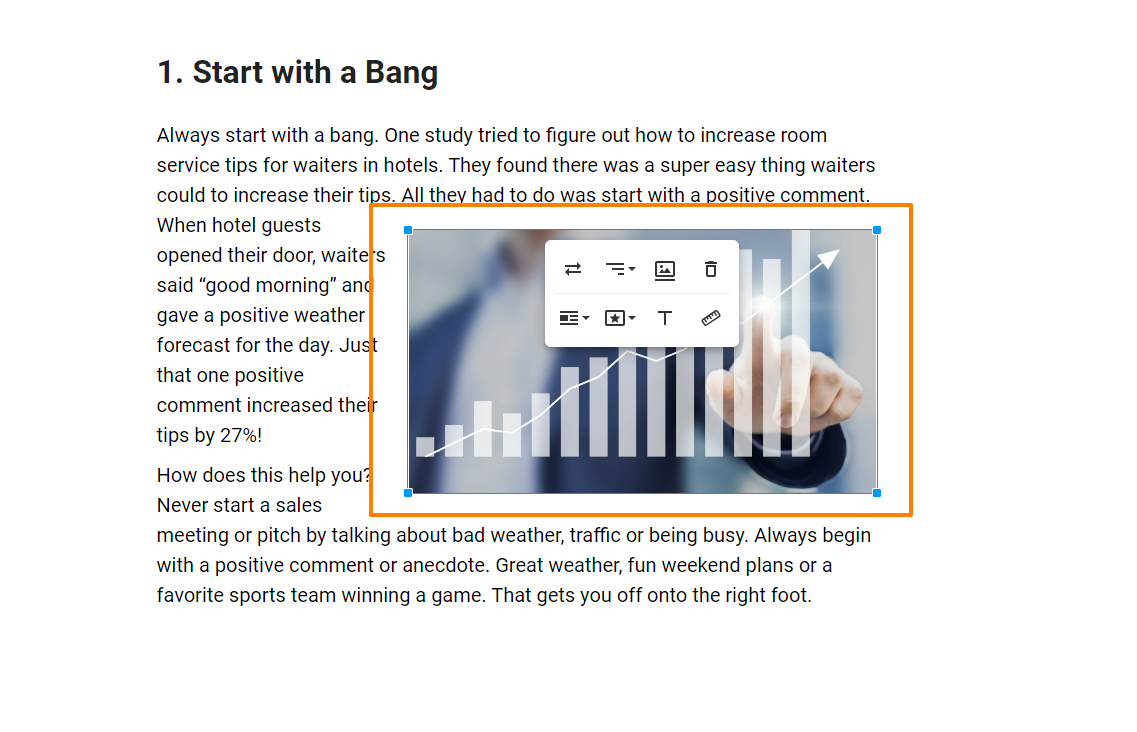
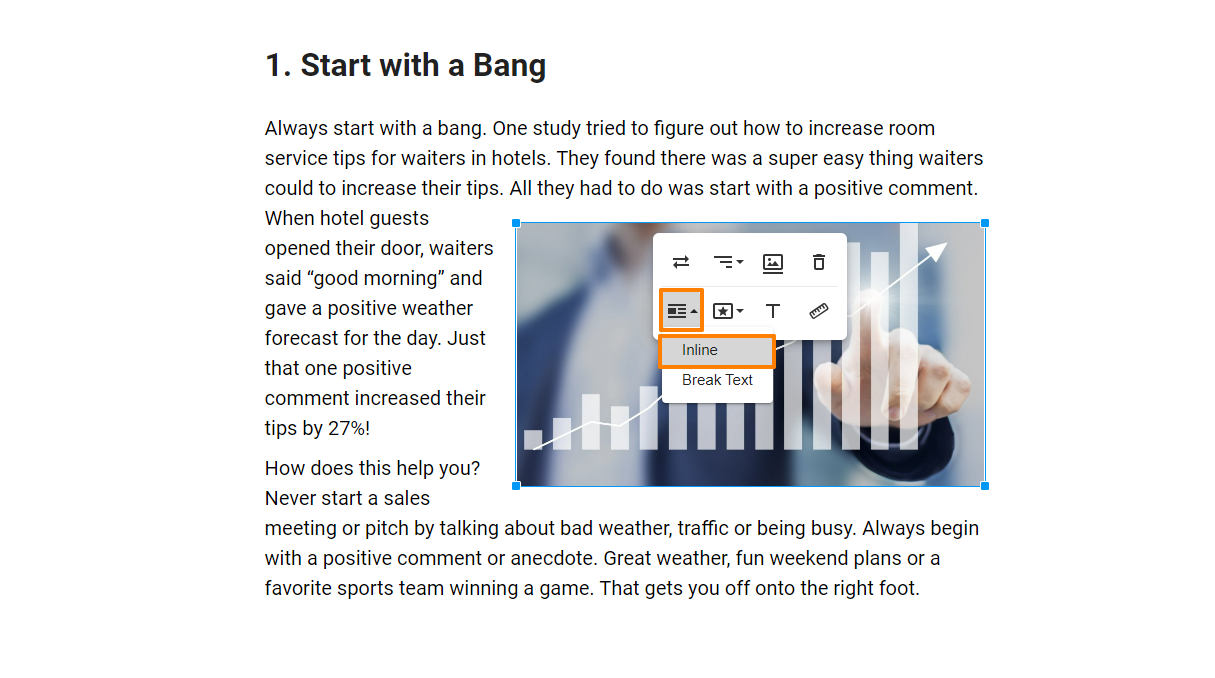
In order to set text wrapping around the image - click on it and select Inline:
Important!
When copying already prepared and formatted text from external editors to material on the platform, it is important to understand that in the digital environment there are a large number of different tools for working with text, each of which can have its own markup language.
Some of them may not be supported by our editor.
If the markup language of a particular external tool from which the formatted text is copied is not supported by our platform, you will see that the text was copied incorrectly and formatting is partially or completely missing.
Please, after copying text from an external source, be sure to check whether everything was copied correctly.
If the text is copied with partial formatting, we recommend that you paste it using the key combination CTRL+SHIFT+V.
This keyboard shortcut will copy the text to the material on the platform without formatting.
After that, you will need to format the text to your liking using the built-in features in the material on the platform.
2. External and internal links work similarly to other sections.
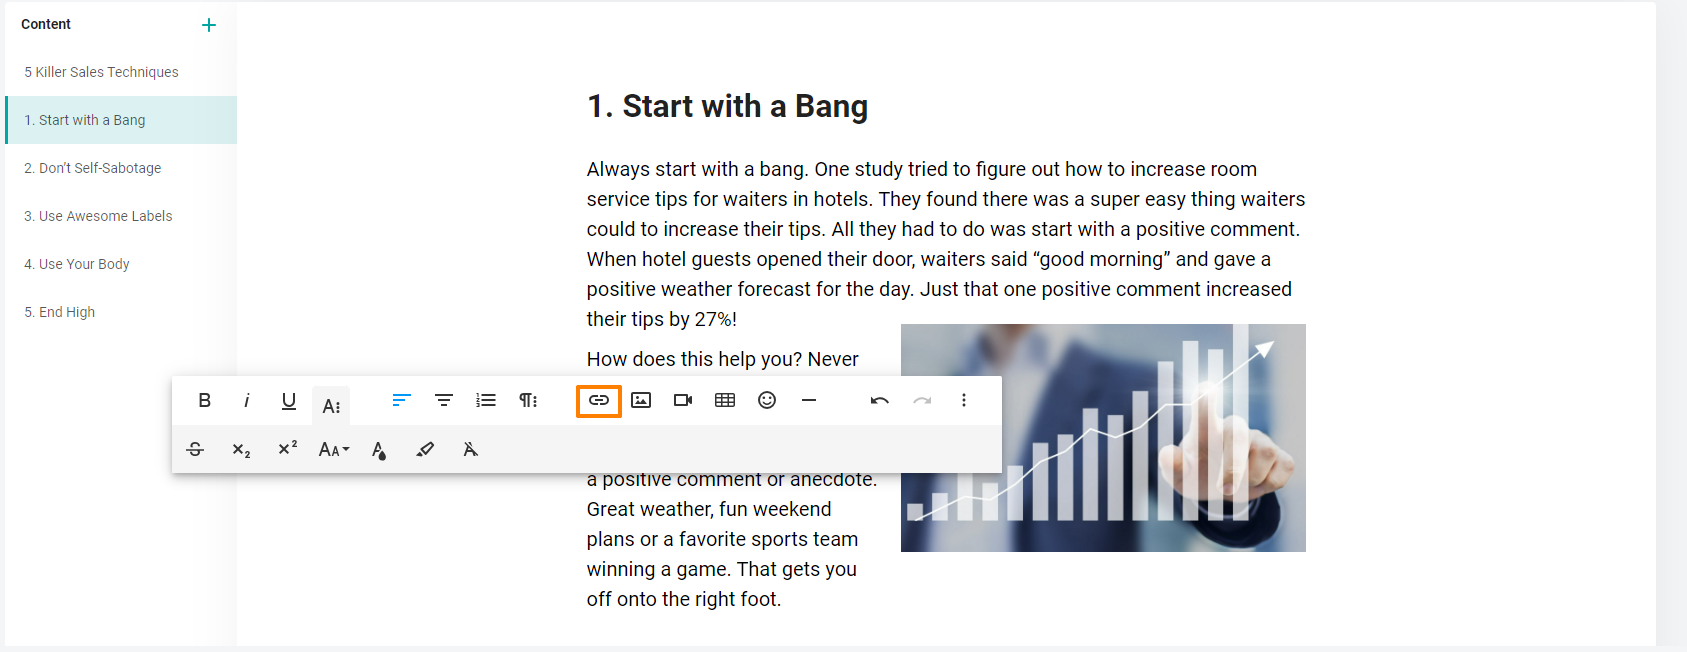
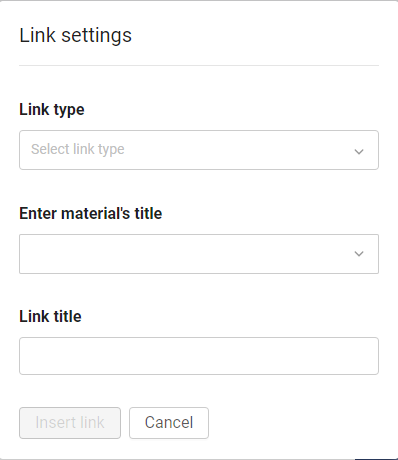
Links are divided into:
1. External - to any external source. For example, a link to a video from your disk, where access to the link is provided to everyone to click on it.
1) In the link type, specify "External link".
2) "Insert an external link" - copy the link to the source in the address bar and paste it into our field.
3) Specify the "Link name". The text that will be clickable, by clicking on which the user will follow the link.
2. Internal - on materials from the application. For example, for an introductory training program for beginners.
1) To do this, select the section in which the material for the link is located.
2) In the "Name of the material" field, we search and select it by name or id.
3) Specify the "Link name". The text that will be clickable, by clicking on which the user will follow the link.
Important: when you link to external or internal materials, you need to take into account that users have the same access in the message in which they posted the link and in the material to which the link leads.
3. Pictures.
We can choose from a computer or place a link to an image posted in an open source.
It is advisable to choose pictures without text, as they do not increase when clicked.
Picture size:
If you set it to fixed, it will be displayed on all devices of the size you specified, without adjusting to the user's screen.
Therefore, we recommend setting the size to auto - it adjusts to the user's screens.
If you have already pulled the picture, you can return its size to auto by setting it in the parameters (click on the ruler).

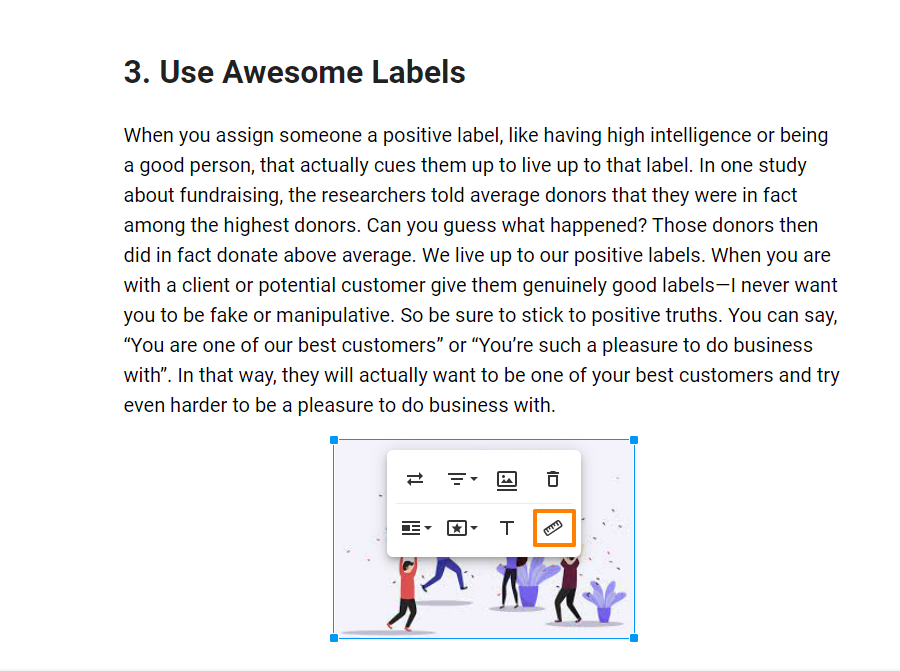
After downloading, we configure the size, location, etc.
4. Links to the video. The video will be played in the article.
It is important that the site where the video was located could play the video in a frame and the site was allowed. For example, the service allowed by default is www.youtube.com .

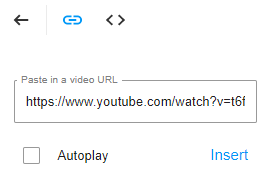
Add a link. For example, from YouTube.
Specify whether it will be played automatically. And click - insert (insert).
After adding it, you can also adjust the size, location.
5. Tables.
Select the tables.

Specify the number of columns and rows by moving the mouse cursor to the right, left and down, up
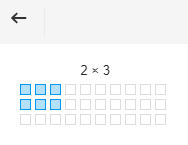
The elements can be painted. It is possible to add columns or rows to the table after it is created.

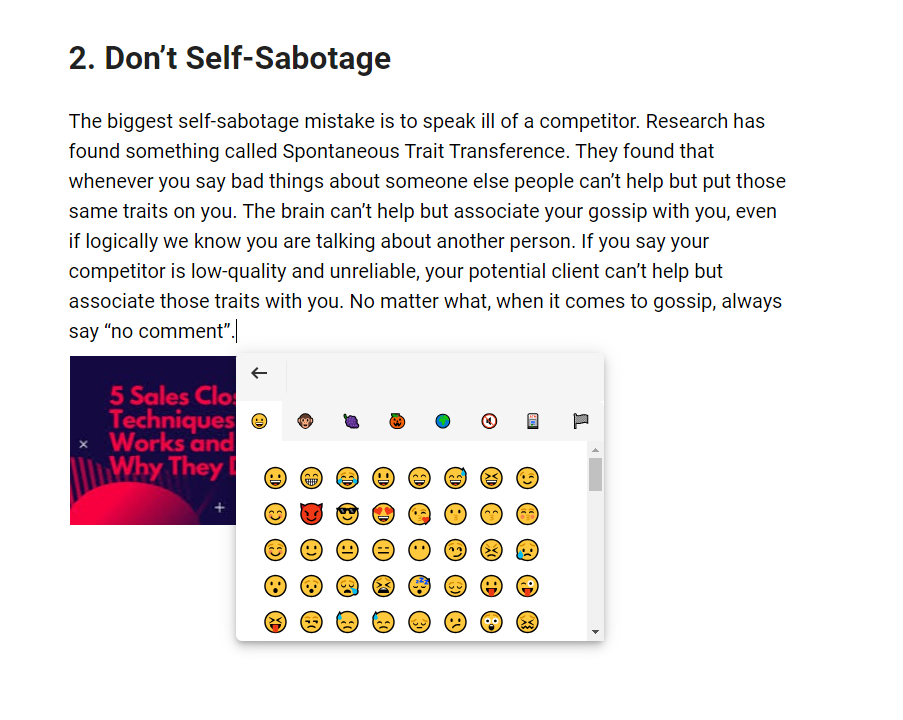
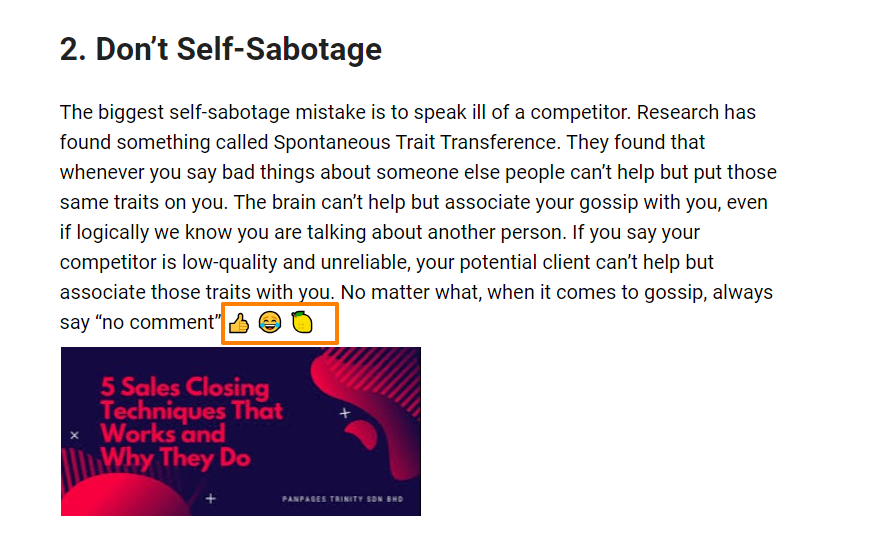
6. Emoticons.
You can add emoticons from the list without restrictions.

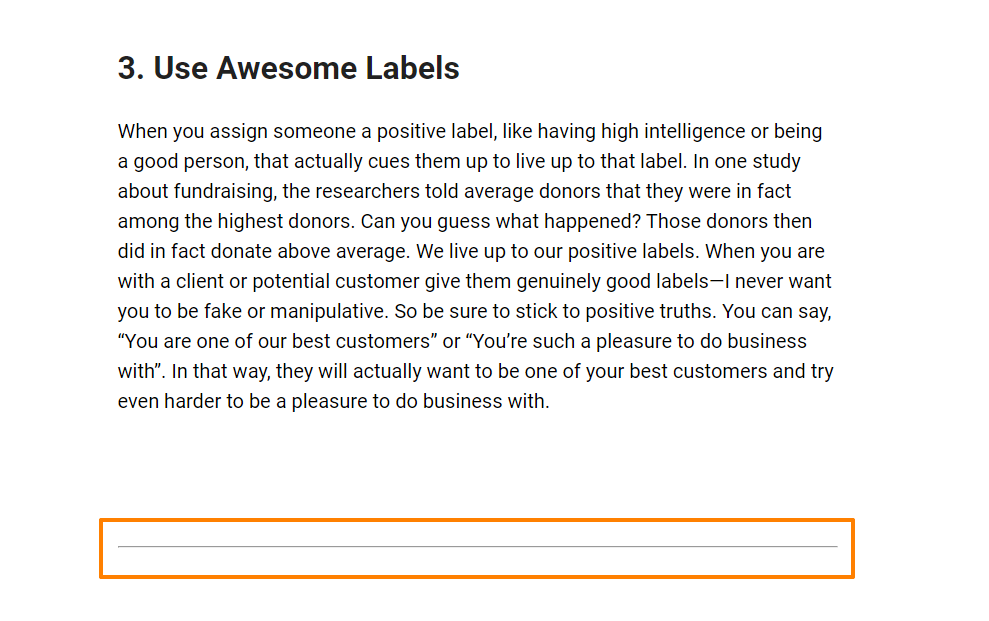
7. The footnote line.
It can separate chapters in your article.

At the end of editing the material, you can use the preview function to make sure that the article is displayed correctly on different screens.
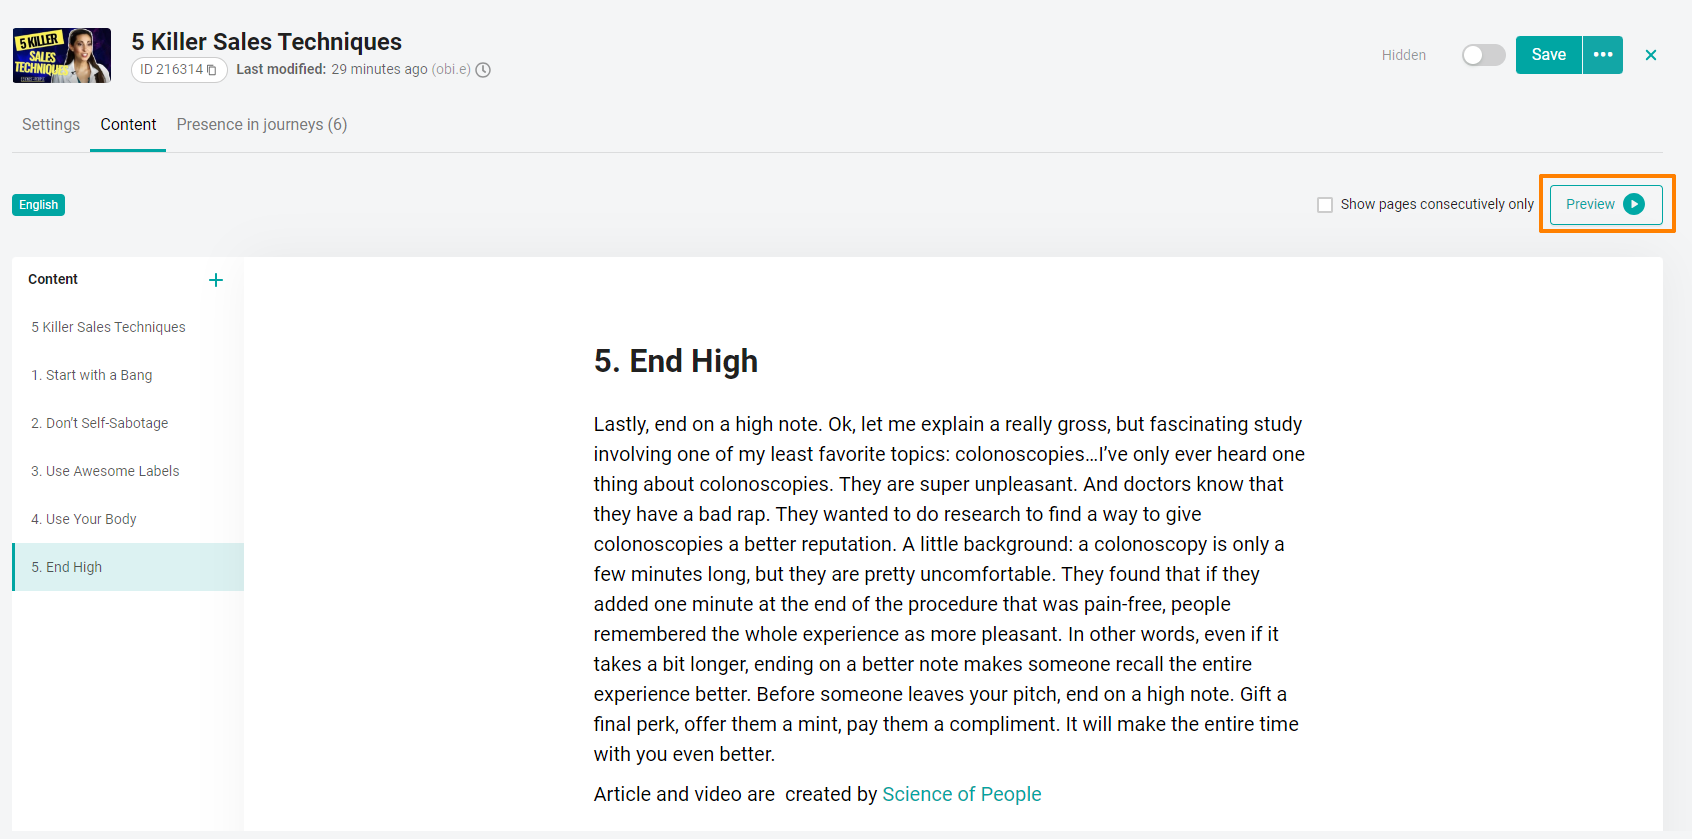
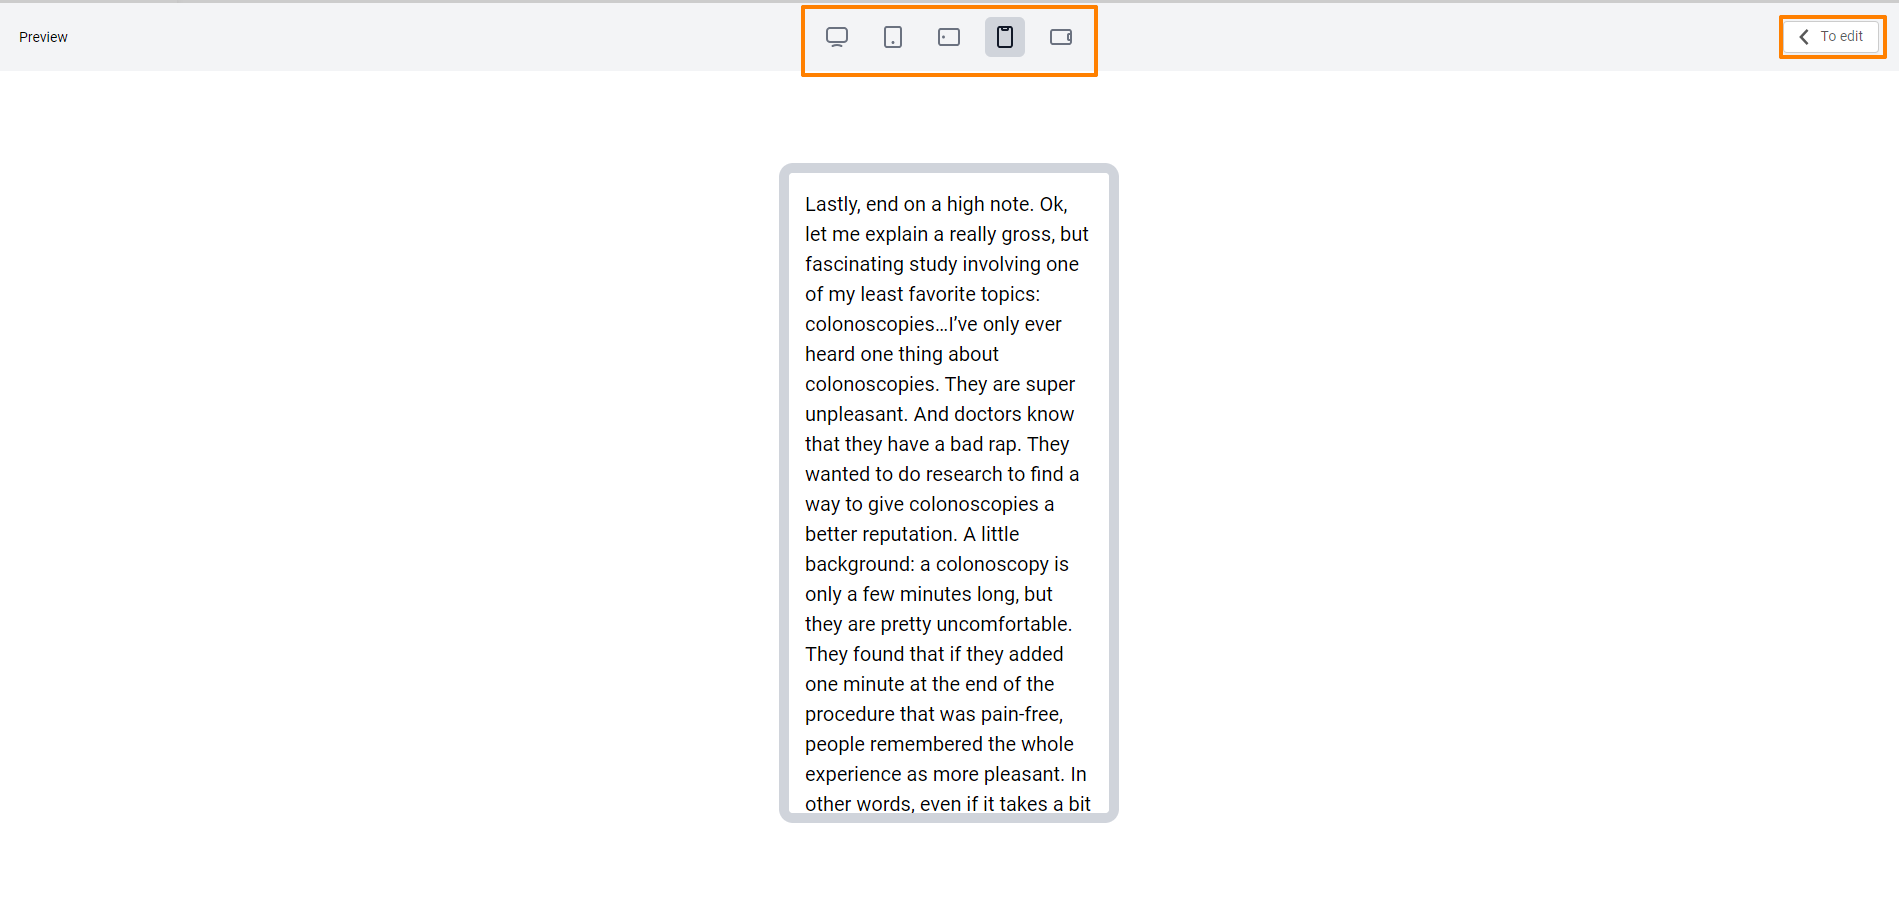
After viewing, to return to the editing screen, click "To edit".
If you do not have enough information, please give feedback at the link: Suggestions for improving articles.
We are waiting for your requests.
We wish you a great day!