This information is necessary if you need to partially or completely change the existing group structure.
Such changes can be made in a company that does not use integration APIs or integration adapters.
1. Think about the future organizational structure:
a) the organizational structure is changing dramatically:
- one new root tree and nesting in it will be used,
- several new root groups and nesting in them will be used;
b) the existing structure is undergoing minor changes:
- additional root groups are added (there are not enough existing ones),
- unused groups are deleted (2-3 trees are enough),
- it is enough to make several nesting into existing root groups;
Recall that a root group can have up to 100 nesting levels, the number of root groups can be increased to 20 or reduced to 1.
1. Make changes to the organizational structure according to a well-thought-out plan.
Add new root groups with attachments in them.
Note that the root groups will be arranged alphabetically, so that the old and new groups do not mix, the new groups can be numbered.
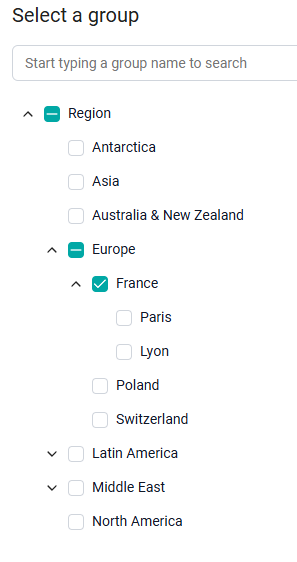
The user can be located not only in the final groups of the hierarchy, but also in intermediate values. The screenshot below shows an example where the employee does not refer to the city of "Paris", but to the more general region of "France".

2. We temporarily leave the previous groups unchanged.
The old and new groups must exist on the platform at the same time, until the new group system is approved. So that the administrator can slowly set up a new organizational structure, and the user does not notice the transition.
3.Set up access to content for new groups.
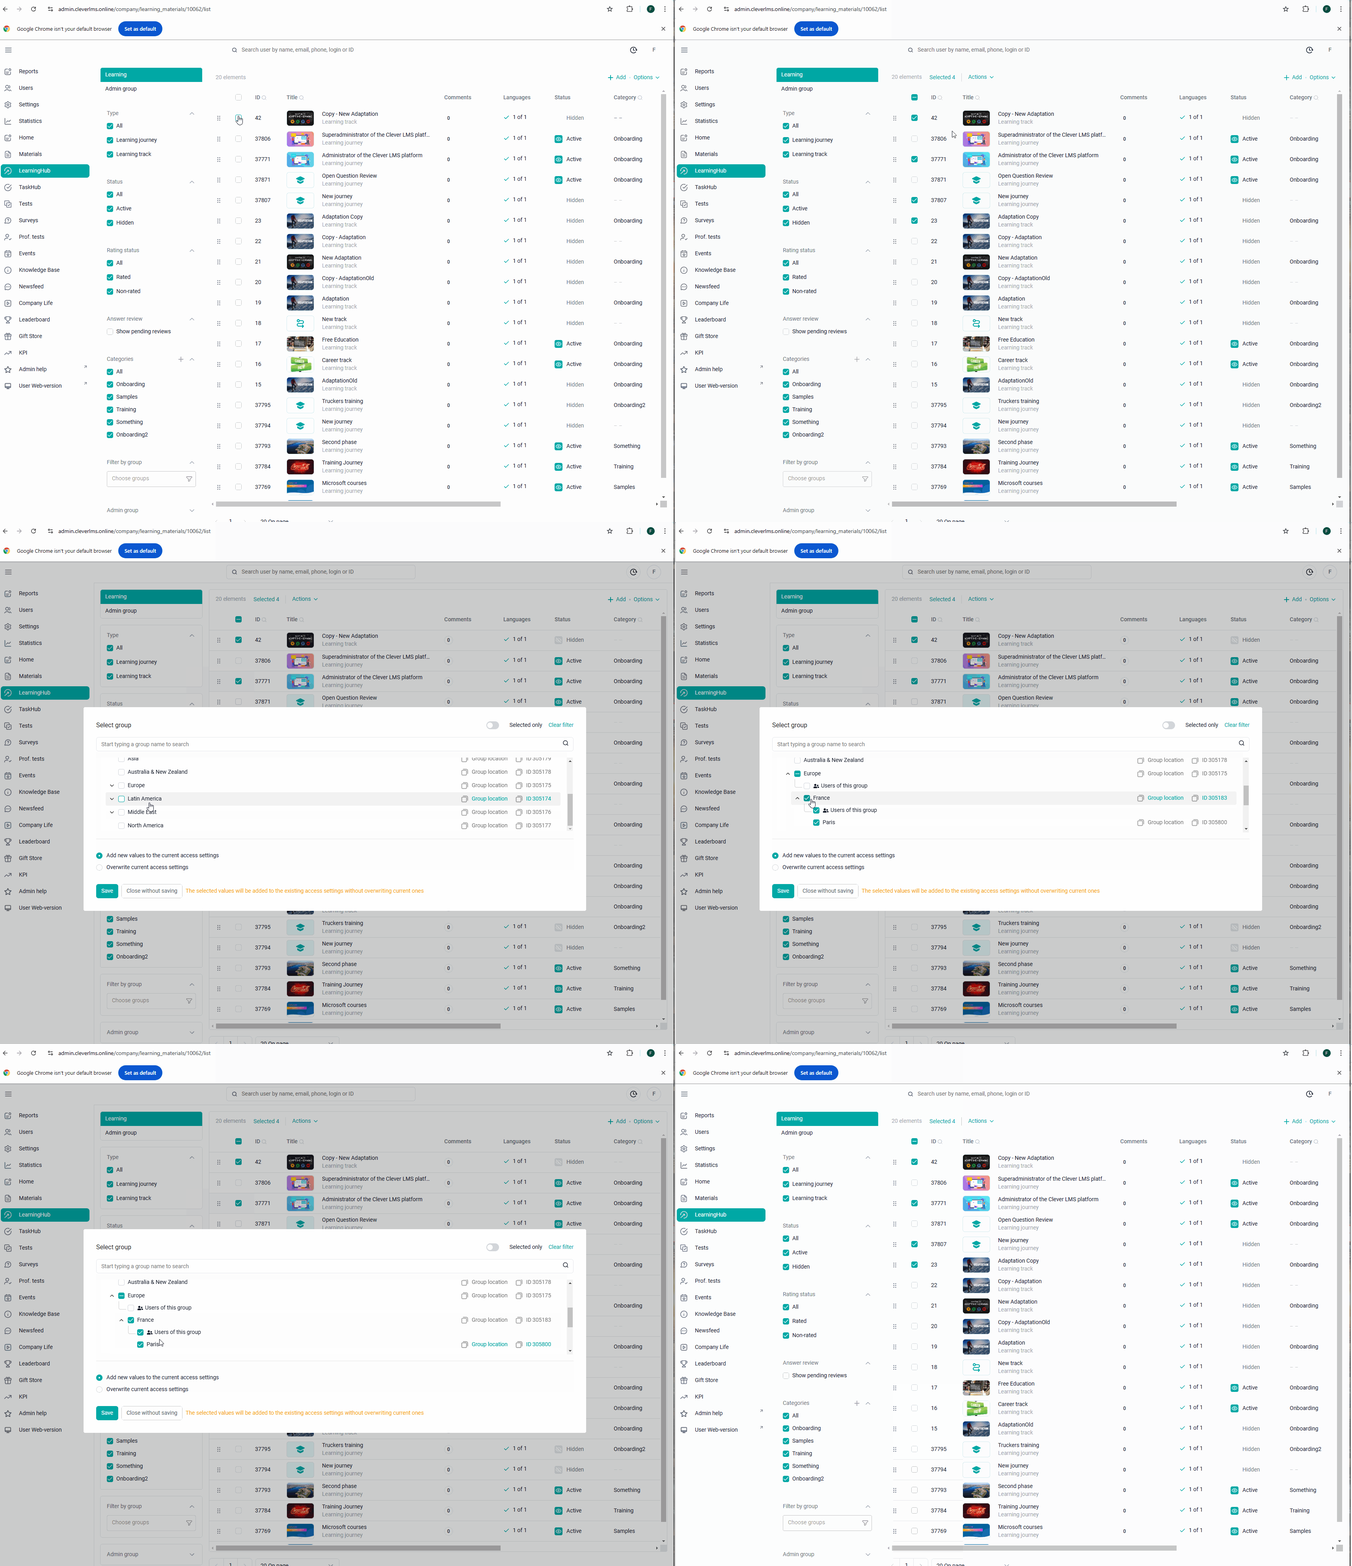
Go through all the sections available in the admin panels, including Awards and Gift Shop (if the Rating is included in the company). Use mass content assignment (Change Group Access - Add new groups/users to the current access settings).
Please note that for an employee who belongs to the "France" group (not to the final group of the tree - "Paris"), we select the destination group "Users of this group" Then this content will be seen by employees at the "France" level and not by employees at the "Paris" level.

4. Create a test user(s) to check the new content assignment.
Please note that the old and new structures exist in the company in parallel, so users have a profile and an admin card.The panels will display both old and new groups.
Old groups | New groups | |
User 1 (old) | Filled in | filled with default values |
User 2 (new) | filled with default values | Filled in |
5. Check that the content is correctly assigned to the new groups.
Using the example of test users, you can compare the amount and content of content under old and new groups.
6. Before transferring users to groups of a new structure, be sure to upload (export) users.
Save the original data. In case of any force majeure, according to this data, it is easy to transfer users to previous groups and not get confused.
7. Use the import template to enter the data of new groups to registered users of the platform.
If you have difficulties with the import template, contact Support. We will help you figure out how to fill out the template correctly.
8. If the company uses self-registration:
а) by code word (dot code): specify new groups for self-registering users using the import template for auto-assignment. Contact Support, we will help you set up new assignments.,

b) Users chose the groups themselves: contact Support to change the drop-down root groups. Please note that the choice of the list of the following groups depends on the choice of the previous parameter: each country has its own list of regions, each region has its own list of cities.
